Automatically Backup any Postgres Database Table into a GoogleDrive
Motivation and use case
In this post I will explain how to automate the process of backuping a postgres database table into a GoogleDrive cloud storage location. I encoutered this problem when helping my dad out with some IT related problem, which included the backup process of a Postgress SQL database table. The solution I provide here can, however, easily be adapted to backup whatever and upload it into some GoogleDrive folder.
In my approach, we use two scripts to accomplish this: One script to produce the backup files and a second script that takes care of the uploading process. If you wish to upload something else, simply adapt the shell script which, in this case, generate the .sql dumps of the desired postgres database table.
For now, clone the repository and we are good to go:
git clone https://github.com/frietz58/postgres_googledrive_backup.git
If just want to get started, the README of this project on Github contains all the relevant steps aswell ;)
Note that the installation process requires a desktop environment and a browser, so straight up installing this on a headless linux distro won’t work, for reasons explained below .
Dumping a postgres table
First, we will take a look at how we can backup a postgres database table (If you wish to backup something else, you should start here). For this, we use the command pg_dump [dbname], which can create script or archive dumps of any given database. I’ve chosen to use script dumps which are
"plain-text files containing the SQL commands required to reconstruct the database to the state it was in at the time it was saved." postgres documentation
Specifically, in the cron_backup.sh script, the line that produces the .sql dumb file is:
pg_dump $target_db > $save_dir/$timestamp"_dump_"$ip4_addr".sql"
This create the .sql dump of $target_db in the folder $save_dir, where the name of the dump file contains the current timestamp $timestamp and the IPv4 adress $ip4_addr of the machine, on which the backup has been created. Regarding the postgres database, you need to consider that by default, not everyone user is allowed to access the database tables. If you wish to only create a backup once, right now, you could use the following command:
sudo -i -u postgres pg_dump $target_db > dump.sql
Here, -i runs the command as an login shell and -u provides the target user. When we automate this process, we use the crontab of the postgres user to take care of this, as explained below.
The rest of the cron_backup.sh script parses the .yaml configuration file, sets varable like $ip4_addr or $timestamp and echo some log messages. If you don’t neet dynamic file names and can assure that the $save_dir always exists, you could drastically shorten the script :)
Uploading to GoogleDrive
The second scripts drive_upload.py takes care of uploading the files into a GoogleDrive cloud folder. It implements the GoogleDrive v3 API. Before that works, you will have to install the requirements, preferably in a virtualenv. So create and activate the virtualenv:
virtualenv -p python3 postgres_venv
source postgres_venv/bin/activate
pip install -r postgres_googledrive_backup/requirements.txt
Once you’ve installed the requirements, you need to enable the drive api for you Google account. I recommend that you create a new Google account specifically for storing the backups. Which is what we will do in the next section.
Enabling the Drive v3 API
Before we can automate the upload process, we must enable the Google Drive v3 API and in the process aquire the two files credentials.json and token.pickle. Those files are needed by the drive_upload.py script to authenticate the connected Google account using the OAuth v2.
Aquiring credentials.json file
Enabling the drive api (under step one) on this page, will download the file credentials.json. For now you can save this file wherever, but make sure to set the path in the config.yaml at credtials_path: /path/to/credentials.json yaml, so that the drive_upload.py script will know where the file is located. Once that is done, we can finally obtain the token.pickle file, which is the last piece that is still missing.
Acquiring token.pickle file
Even though I am not very happy about, the last step required you to have a desktop environment with a working browser. I am not sure why Google made it this way, but I assume that they want that you can only directly, in an interactive manner give a script or app access to your drive storage.
Given that you have set the path to the credentials.yaml file in the config.yaml file, execute the drive_upload.py script:
cd postgres_googledrive_backup
python drive_upload.py -cf /path/to/config.yaml
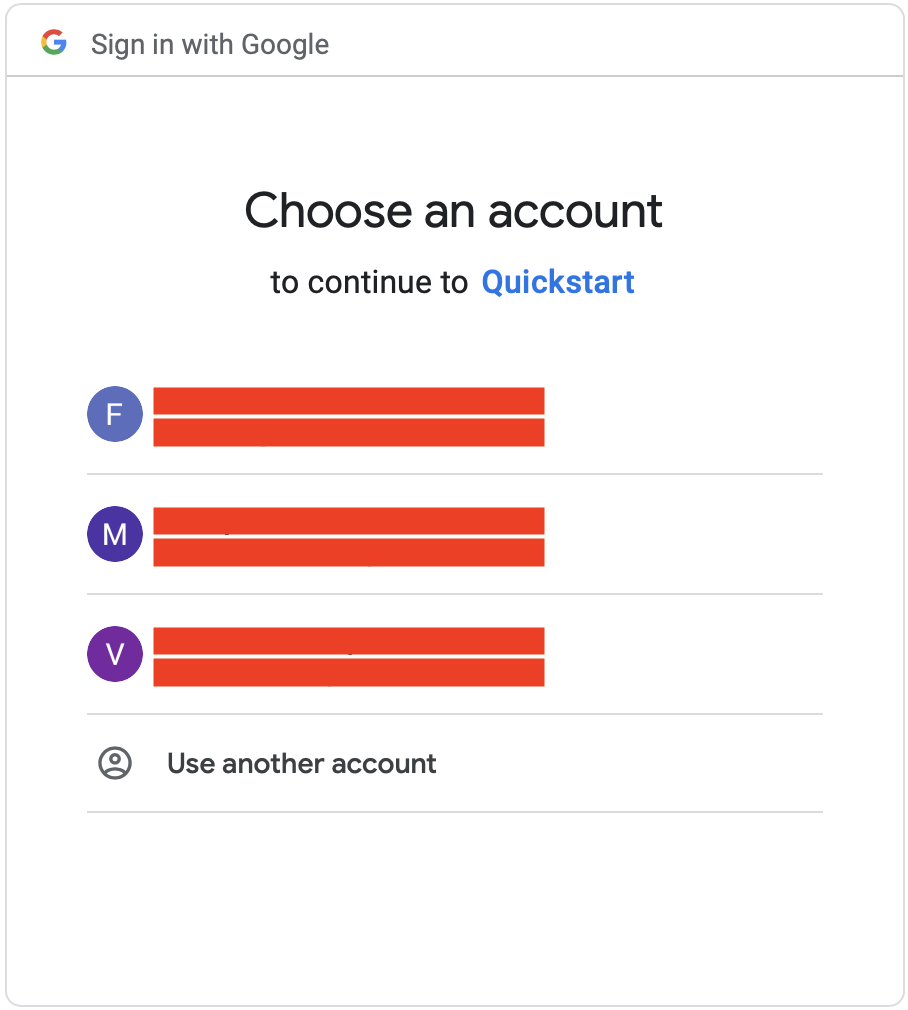
This will open your default browser and ask you to allow “Quickstart” access to that Google accounts drive storage:
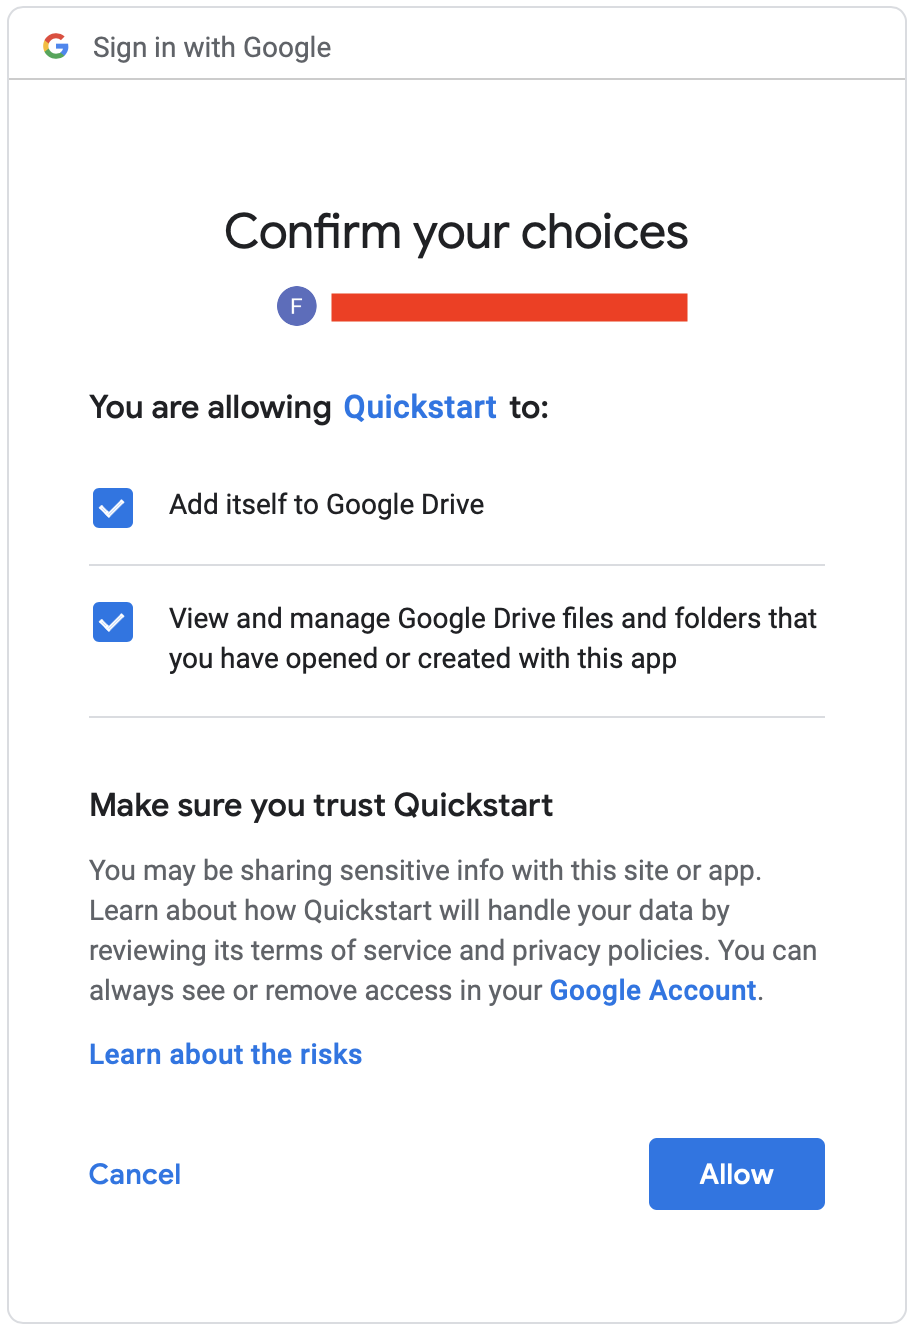
If everything worked, this will create the file token.pickle in your current working directory and output Token file has been acquired, exiting... to your console. Make sure to adjust to the path of the token.pickle file in the config.yaml file, so that drive_upload.py finds the token, independt of your working directory.
And that’s it. You could now manually run both scripts manually and it would upload the .sql dumbs into the google drive folder set in the config.file. But we are developers, there is no fun in doing things manually. So let’s automate the entire workflow using the crontab in the next and final section of this post.
Automatic execution via Crontab
Now that the files credentials.json and token.pickle have been acquired, we can also use this on any headles linux distro. Simply scp the entire postgres_googledrive_backup folder to your headless linux distro, create a virtualenv there and install the requirements once again.
The important thing is to make sure that the paths in the config.yaml file are correct.
To automatically create backups using the cron_backup.sh script and automatically uploading those into the cloud with the drive_upload.py script, we will use the crontab. The crontab allows us to execute arbitrary commands on a regular schedule, meaning that we can automatically create backups and upload them into the cloud.
Because only the postgres user has access to the postgres database tables that we wish to backup, we must use the postgres users crontab to schedule the backups. I assume that you have postgres installed, given that this post deals with backuping a postgres database table… We can use the su command to become the postgres user like this:
sudo su postgres
Once we are the postgres user, we can edit the crontab using the following command:
crontab -e

50 23 * * * /home/pcadmin/automatic_backup/cron_backup.sh /home/pcadmin/automatic_backup/config.yaml > /tmp/backup.log
55 23 * * * /home/pcadmin/backup_venv/bin/python3 /home/pcadmin/automatic_backup/drive_upload.py -cf /home/pcadmin/automatic_backup/config.yaml >> /tmp/backup.log
If you wish to run the backup process daily at a given specific time, the cron prefix is 23 50 * * * for every day at 23:50. Take a look at the crontab.md file, which is pretty close to what I am running on my linux server. Both scripts except one paramaeter, which is the path to the config.yaml file. So make sure to adjust that path and also make sure that the paths in the config.yaml are also correct.
When working the crontab, environment variables are not set, meaning that something python example.py won’t work, instead you need to use absolute paths: /usr/bin/python example.py.
Further, we need to make sure that postgres user, who will execute the commands in the postgres crontab, has read, write and execute permissions at the directory containing our scripts, so run the following commands:
sudo chown postgres postgres_googledrive_backup
sudo chmod 700 postgres_googledrive_backup
This makes the postgres user the owner of that directory and gives only the owner read write and execute permisions.
And that’s it. You can now, at an arbitrary interval, create backups of a postgres database table (or anything else if you adapt the backup generating script) and upload those backups into a GoogleDrive cloud folder. Working with the crontab for the first time can be a bit cumbersome, because commands that work in your shell don’t necisarly work in the crontab. Make sure that all paths are correct and the user whose crontab you are using (here the postgres user) has sufficient permissions on the folder its operating on, and you should be good to go.
Cheers,
Finn.